What is a Gravatar? A Gravatar is simply a “Globally Recognized Avatar“.
That may lead you to ask “What is an avatar?” It’s kind of like an icon or small photo that represents you. You’ll often see such avatars when browsing different blogs and other web sites — perhaps most often you’ll see them next to the author’s name or reader comments.

Gravatars are automatically displayed for most blogs. In fact, WordPress integrates Gravatars into every WordPress site by default. That means you can set up your Gravatar once and it continues to work on hundreds of thousands of websites after that. Tired of that avatar? Simply change it out and your new Gravatar image is instantly changed on all these sites as well without another step needed by you! It’s that easy. And, to make it even better, having a Gravatar is free!
So now you may ask, how do I get my own Gravatar? Read on and we’ll tell you how to set up a Gravatar in 3 easy steps!
Step 1: Sign up.
Go to the Gravatar site and create your own free account. All you need is an email address, username and password.
Tip: It may seem a little confusing when you go to Gravatar.com since clicking the “create” button there sends you to a WordPress.com page; however, if you already have a WordPress.com account you’re one step closer (it’s free too!). Details are here but in short, Gravatar is owned by Automattic and is part of the WordPress.com Connect family of services. Go ahead and create your free WordPress.com account (and, for improved security, don’t forget to enable two-factor authentication on this account as well).
Step 2: Confirm your email
Your Gravatar is tied to your email address so you’ll need to confirm it to prove you’re who you say you are. That’s good for you since it prevents someone from hijacking your email address with their avatar.
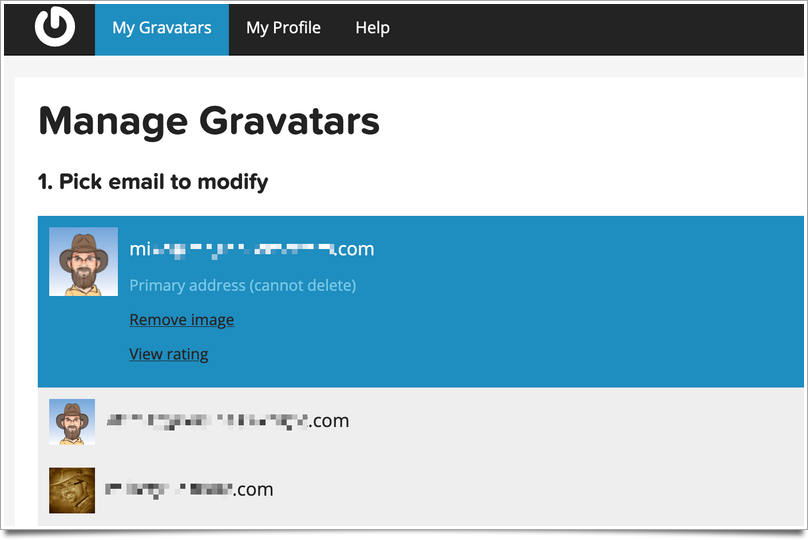
Pro Tip: Let’s say you have a work email address and a personal email address and want to keep these two areas of life separate. You can set up separate Gravatars using each email address. For example, one Gravatar could have a lighthearted photo for personal things and the other your company’s logo for work-related purposes.
Step 3: Login to WordPress.com
Now your WordPress.com account is ready for you so go ahead and set up your email address (or addresses) for the Gravatar (or multiples if you like). From there you can assign an image (and an image rating if it is “not safe for work” or unsuitable for general audiences or children) to that email address. You can change these images as often as you wish or add email addresses later.

Additional Gravatar Resources
If you have more questions, you may benefit from the extensive Gravatar Support documentation available. In addition, this article at TechNumero provides even more details on how (and why) to create a Gravatar.
Video credit: WordPress.tv


